
The art is found within the practice
a step by step floral arranging guide
A timeline for recipes
August 4, 2024
I don’t follow recipes that often but there was a time in my life that I did. I’d devour cookbooks like novels. I’d spend hours intensely reading, making sense of steps, and techniques. I found it incredibly satisfying, and over time, foundational to my comfort and skill to create and experiment in the kitchen.
Recipes are a backbone for anyone beginning but also an anchor for the experienced. Not only do they provide structure, but also open a window into a particular concept—a story, a history, a coveted piece of paper with handwritten notes and measurements.
The more you cook the more you know what works and what doesn’t. You might begin to stretch beyond the key list of ingredients or methods and make them suit you, the season, your health, or who's coming to dinner. Time will pass and like any master of their craft, you’ll know what to combine and when it’s finished by the smell, the time, or the behavior. You’ll just feel it. Literally and figuratively.
The same is true for flowers and plants. So for those who may be beginning as well as those far along…here’ a bit of a recipe to refine your craft. Enjoy.
Click HERE to download or print PDF
Select your vase/vessel and fill with slightly cold water. Your vessel selection, in many ways, will inform the bouquet itself. Large, tall, wide, shallow, etc. influences the balance of proportion and overall design.
Precondition your blooms. Meaning before you begin to arrange make sure that they have been allowed to rest in clean cool water for a few hours. This is more applicable if you're harvesting the blossoms. When buying at the market, they’ll have likely been sitting for some time. (pro tip: some stems may wilt or be in need of extra hydration support: Dahlias, basil, hellebore, mint are a few examples. Prepare by submerging ends in just off boiling water and allow to cool prior to arranging.)
Determine whether you’ll need any special material or mechanics to build the bouquet. Chicken wire, flower frog, or one of my personal favorites, a vine wrapped up into a loose nest (I like to use honeysuckle) will support your ingredients in place.
Design tips: choose a color palette or concept based on the ingredients you have available. I recommend separating cool and warm color palettes as they often clash. Select 3-4 colors, any more than that can make it over stimulating or hard on the eye. If using focal or large flowers amidst smaller blooms, it will give the eye a place to land. However not using large blooms will lend itself more to a wild and whimsical look. Think wildflower meadow.
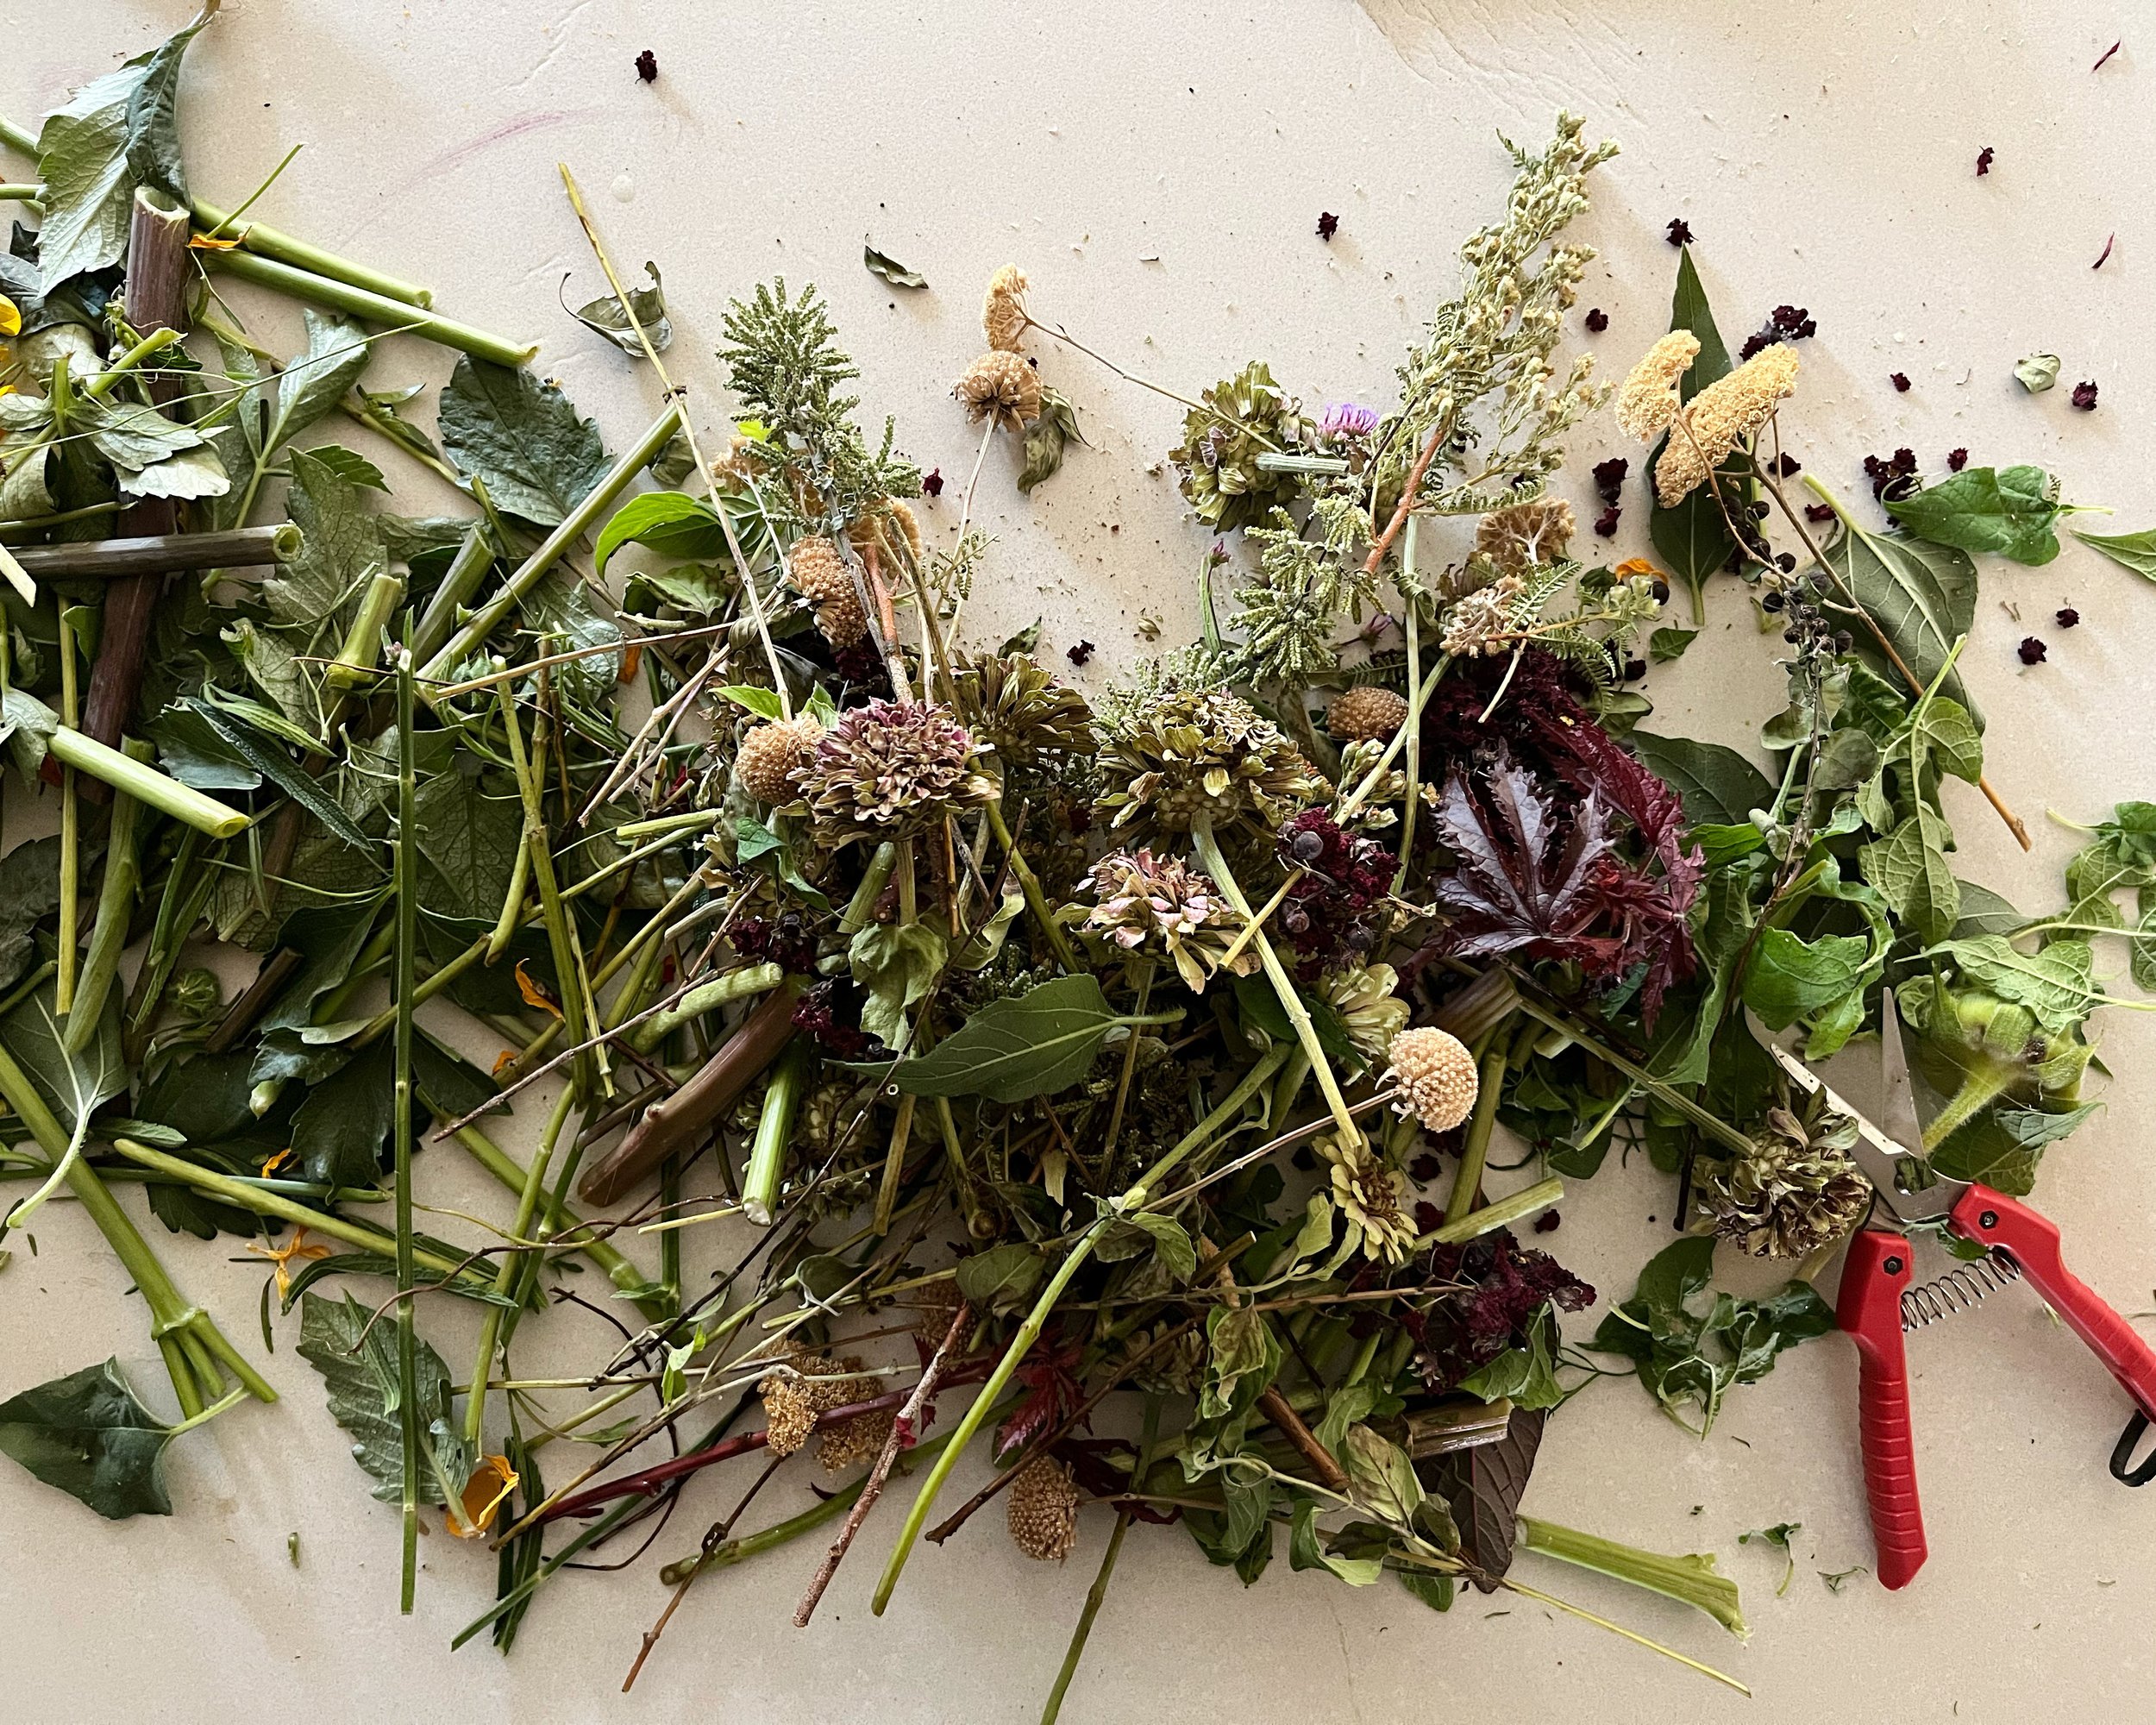
Clean your stems. You have complete artistic license here, but depending on what you’d like to showcase, removing most of the green leaves and foliage from the stems is a good practice. Especially foliage that will sit below the water line.
Everyone builds in a slightly different way. I like to start with a mix of the filler, lacier or woody materials first before adding in the larger blooms or stems. I like moving from the bottom up/outside in and then reverse.
To ensure that everything is not visually and literally on the same plane, cut the stems at different lengths and angles so when arranged in the vessel each one has its own space and place in the overall conversation.
Work toward unbalanced, but balanced form. Having an arrangement that is too symmetrical can be underwhelming. Play with having branches or blooms on a horizontal plan. Use negative space as a design element. It’s not necessary to over stuff. Space allows movement to open and breathe.
Your arrangement may not be a centerpiece, therefore it’s perfectly okay to focus on one side being the face.
The practice and process is a wonderful tool in which to develop your sense of intuition, creativity, and art. You may instinctively know when your arrangement is finished. Stop and step back. After a day you may even notice where you’d like to add or remove stems or branches. Allow the bouquet and your relationship with it to be alive (which it is). It can change.
Keep an eye on your water levels over the next few days. It will drink a lot and your vessel will need to be topped off.
Personal tip: An everlasting bouquet. Over the course or the next several days the bouquet will transform. It’s alive and will naturally age. Some stems will last longer than others. I sometimes will come in after a week and freshen the whole thing up. Remove the dead or decayed and add fresh materials and make an entirely new piece.
Finally and probably the most important: enjoy it. Enjoy how the light hits it. Enjoy the fragrance. Enjoy the smile it casts on your face when you walk by. There’s nothing like a nice bouquet of flowers.
If this is remotely interesting and you’d like more of the nitty gritty or just more visual examples, check out Intuitive Arrangements. It’s a super accessible, self-paced digital series for flower lovers covering basic mechanics and botanical design. It’s all about expanding your senses, honing your style, and connecting to the elements behind the blossoms. Immediate access upon purchase.
Yours, Erin